Building a Multi-GPU Workstation for My Home Lab
27 Apr 2025After running a power-efficient home lab setup for quite some time, I recently decided it was time for an upgrade. My existing machines were chosen primarily for their small form factors and energy efficiency, but new requirements—particularly the need for GPU acceleration—meant it was time to think bigger. Here’s how I approached building a more powerful workstation while maintaining a practical balance of performance, cost and expandability.
Design Requirements
When planning this build, I focused on creating a system that would:
-
Host my existing services: Continue running applications like Immich, Jellyfin, the *arr stack (Sonarr, Radarr, etc.), AdGuard, Nginx Proxy Manager, Prometheus, Grafana, and various other lightweight services. My Intel NUC 9 Extreme with an ASUS RTX 3060 had been handling these reasonably well.
-
Support local AI experimentation: Provide enough GPU VRAM to test large language models locally, requiring a minimum of two 3090 GPUs for 48GB of VRAM.
-
Handle substantial virtualization workloads: Accommodate resource-intensive virtual machines demanding significant CPU and RAM.
-
Prepare for future storage expansion: Include sufficient SATA connectivity to eventually replace my Synology NAS with an open storage solution like TrueNAS.
Component Selection
My component choices were primarily driven by price and local market availability. Here’s what I selected, along with alternatives I considered:
| Component | Selected | Alternatives Considered |
|---|---|---|
| Motherboard | Supermicro H11SSL-i | Supermicro H12SSL-i, ASRock ROMED8-2T |
| CPU | AMD EPYC 7551P | EPYC 7282 |
| CPU Cooling | Supermicro SNK-P0064AP4 heatsink | |
| Storage | 1.92TB Micron 7400 Pro NVMe | |
| Memory | 8 × 32GB Hynix DDR4-2400 ECC REG (256GB total) | |
| GPUs | 2 × AFOX RTX 3090 Blower | |
| Power Supply | Super Flower Leadex Platinum 1600W | |
| Case | DeepCool MATREXX 55 MESH | Phanteks Enthoo Pro II – Server Edition |
| Cooling | 6 × ID-Cooling XF-12025-SD-K fans |
Key Insights from the Build
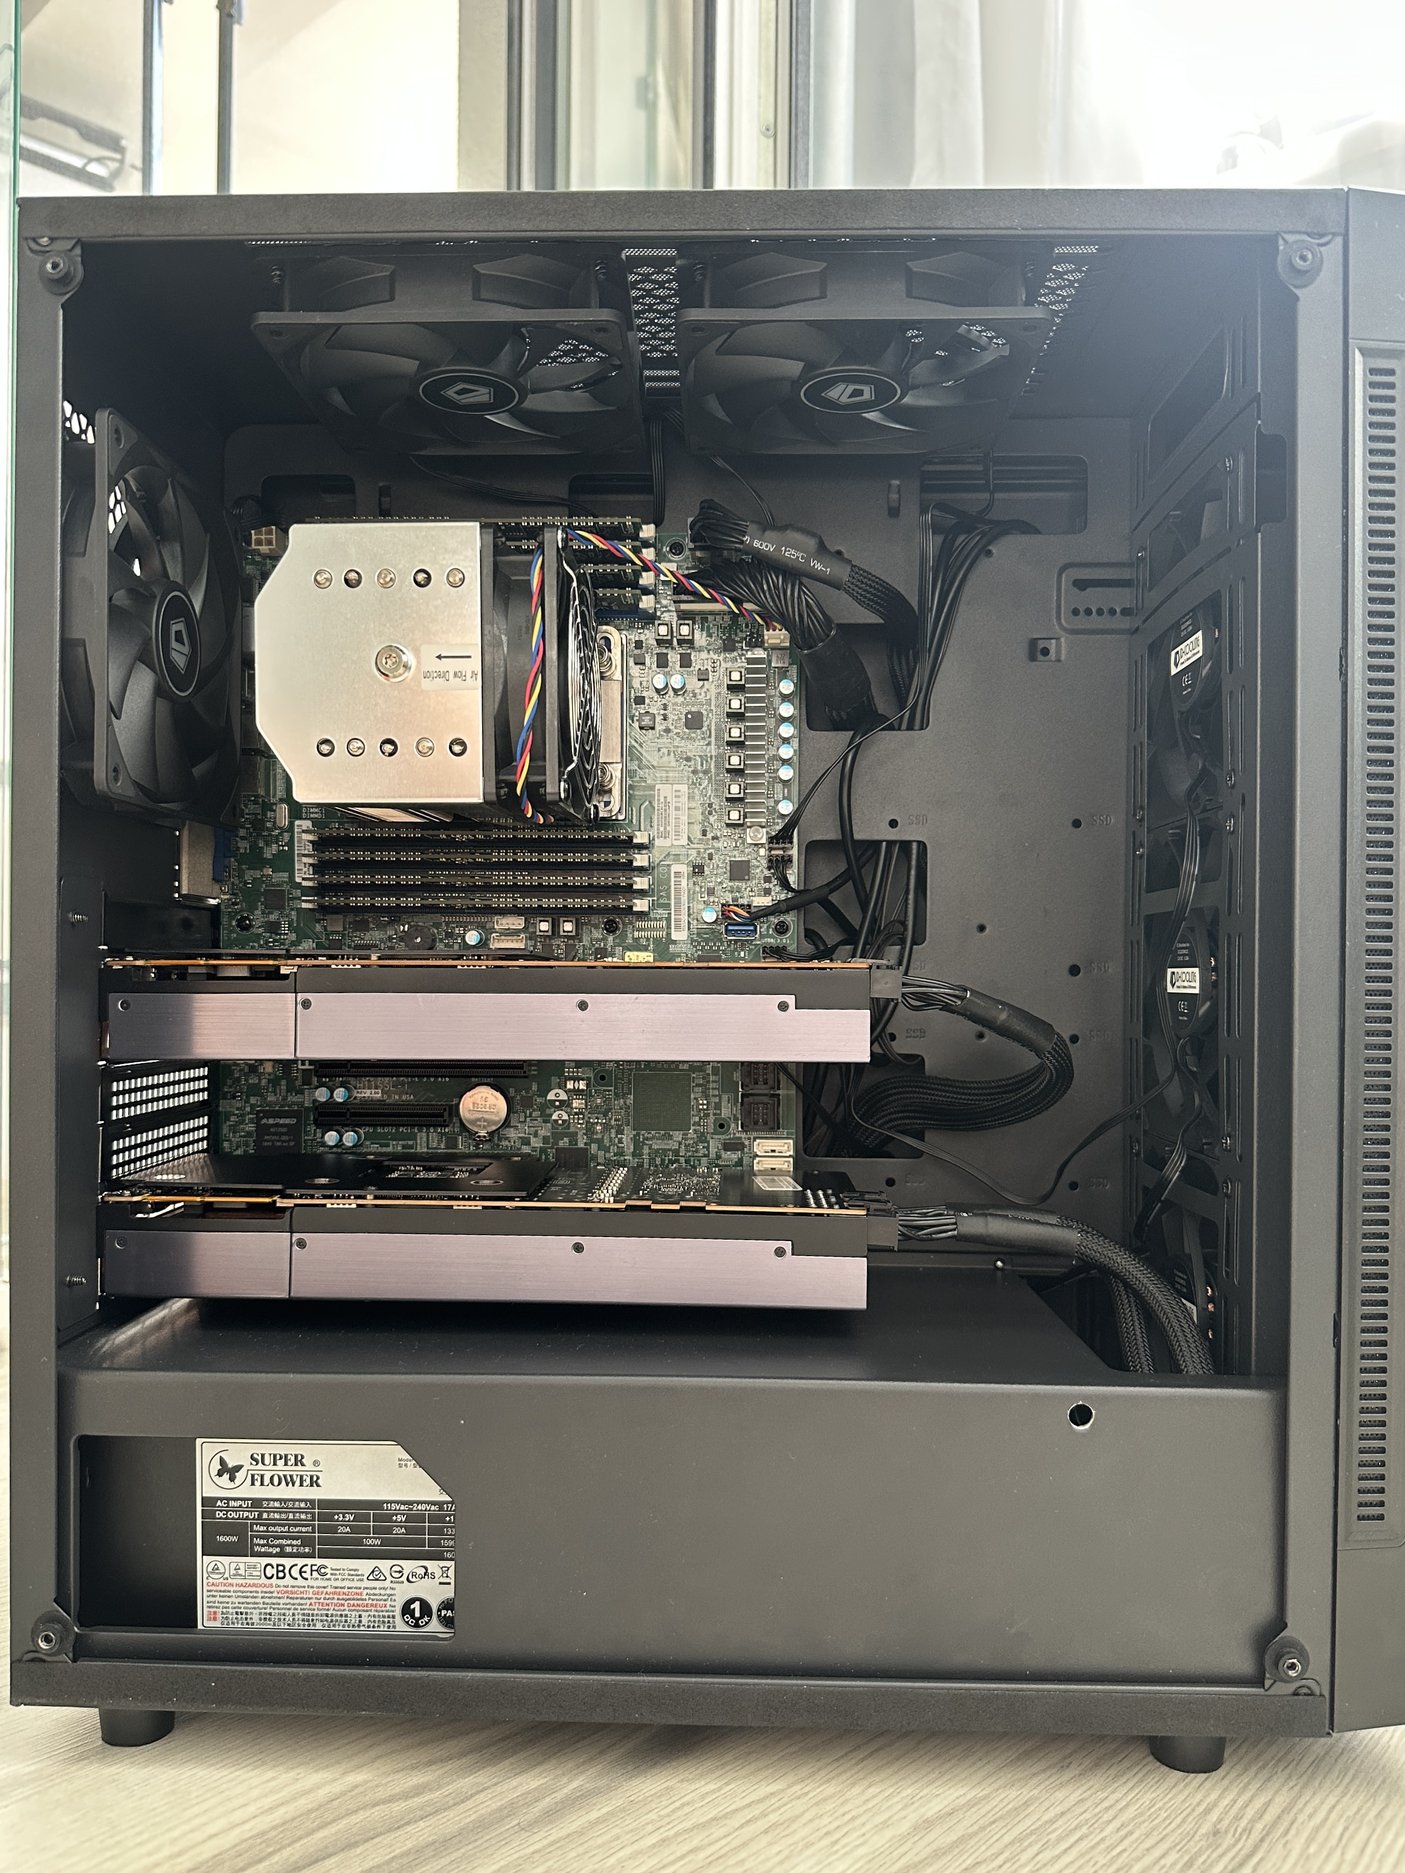
Server Motherboard Benefits
The Supermicro H11SSL-i server motherboard has proven to be an excellent choice for flexibility. Even with two GPUs installed, I still have one PCIe x16 slot available for future expansion, plus plenty of SATA ports for my planned NAS transition. The integrated IPMI interface is particularly valuable, enabling complete remote management without needing to connect a display or input devices.
GPU Noise Mitigation
One challenge I encountered involved the blower-style GPUs. The AFOX RTX 3090s I acquired (designed for cryptocurrency mining) initially had their fans permanently running at maximum speed, creating significant noise. I was able to resolve this by flashing them with a Gigabyte variant VBIOS, which restored proper temperature-based fan control.
Power Considerations
It’s important to consider your electrical infrastructure when building a system of this caliber. During testing, I’ve observed maximum power consumption of around 800W under load, while idle power usage sits at approximately 85W. If you share the circuit with other high-consumption appliances (like air fryers or air conditioners), you may risk tripping your circuit breaker during periods of high system load.
For those concerned about power draw, the nvidia-smi utility allows you to set power limits on your GPUs, reducing their consumption from the default 350W maximum:
nvidia-smi -i <gpu_index> -pl <desired_power_limit_in_watts>
Cost Efficiency
I sourced components primarily through eBay and local marketplaces, bringing the total system cost to just under €2,000. This represents excellent value considering the computational power and flexibility the system provides.
Conclusion
This workstation build successfully meets my requirements for hosting existing services, enabling local AI experimentation, supporting substantial virtualization needs and providing a path for future storage expansion. While there were challenges along the way, particularly with GPU noise levels, the resulting system delivers a powerful and flexible platform for my home lab needs.
For anyone considering a similar build, I’d recommend carefully evaluating your specific requirements and local component availability. Server-grade hardware can offer excellent value when sourced carefully, providing capabilities that extend well beyond typical consumer equipment.
Last but not least, building hardware again feels awesome, especially with all the GPU craziness these days. Takes me right back to when I was getting into computers and every bit of RAM or MHz mattered. Yeah, I know I could have just rented cloud instances and paid much less, but getting your hands dirty and putting all things together - hardware and software - is something that you need to keep doing to understand how they work.