Installing Single Node OKD on a KVM virtual machine
08 Mar 2025Spring has finally arrived and with it came the perfect opportunity for some home lab maintenance. After running my home lab OKD instance reliably for over 2 years, I recently performed a reinstall and decided to document the entire process. Since the previous setup served me well, I wanted to capture all the detailed steps involved in getting a fresh OKD environment up and running on a KVM virtual machine.

Prerequisites
OKD is a community distribution of Kubernetes which serves as the upstream project for Red Hat OpenShift. For this installation, I’ll demonstrate the agent based method, which offers a streamlined approach suitable for both bare metal servers and virtual machines. The installation process follows a straightforward workflow: creating configuration files, generating an installation ISO, booting nodes with this ISO, and monitoring the automated installation to completion.
Before proceeding with the installation, let’s ensure the following requirements are in place:
Hypervisor Environment
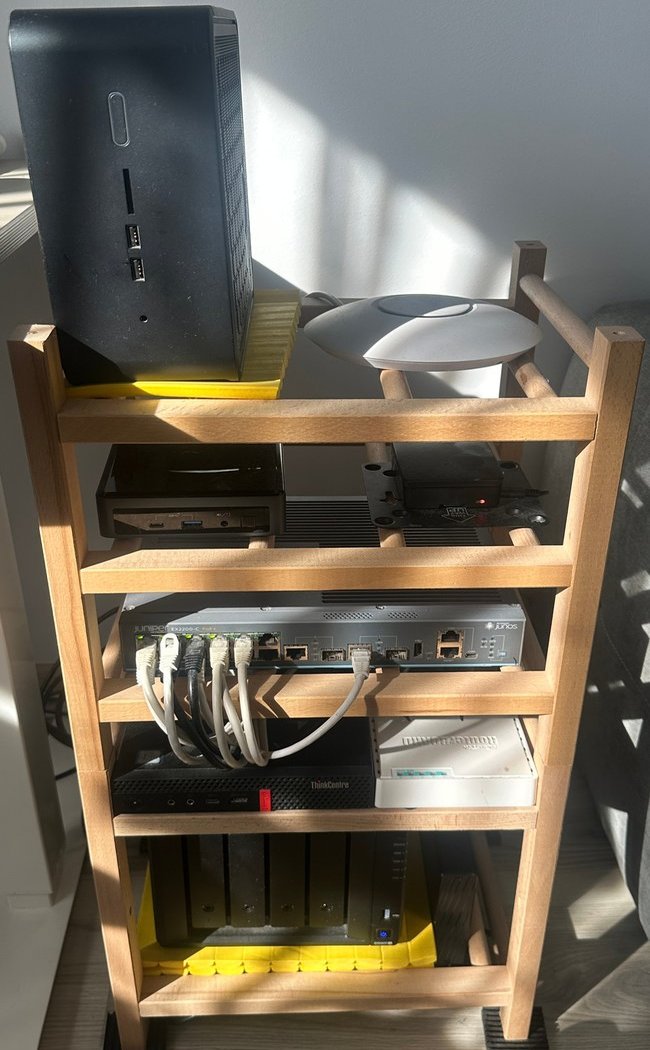
I’m using CentOS Stream as the hypervisor host(the large NUC box in the lab image) with libvirt for virtual machine management. The OKD node will be provisioned with the following specifications:
- 16GB RAM
- 8 vCPUs
- 500GB storage
- single network interface with static IPv4 address connected to a bridge device linked to the lab network
We’ll use the virt-install tool to create this VM after generating the installation ISO (detailed instructions provided later in this guide).
DNS Configuration
OKD requires specific DNS records to enable external access to the cluster’s API and ingress services. In my environment, I’m using AdGuard as the DNS server with the following records configured in the “Filters → DNS rewrites” section:
api.k8s.cornea.dev    A    172.16.1.24
*.apps.k8s.cornea.dev A    172.16.1.24
These DNS entries ensure proper routing to the single-node OKD cluster services once installation is complete.
OKD Installation Steps
Preparing Configuration Files
Create install-config.yaml
Create an install-config.yaml file for your OKD installation. The documentation provides comprehensive details on all available parameters, but pay special attention to:
baseDomainandmetadata.name: These must correspond to your DNS recordsnetworking.machineNetwork: This should match your lab network subnet- Include your public SSH key to enable secure access to the node both during installation and afterward
apiVersion: v1
baseDomain: cornea.dev
compute:
- architecture: amd64
  hyperthreading: Enabled
  name: worker
  replicas: 0
controlPlane:
  architecture: amd64
  hyperthreading: Enabled
  name: master
  replicas: 1
metadata:
  name: k8s
networking:
  clusterNetwork:
  - cidr: 10.132.0.0/14
    hostPrefix: 23
  machineNetwork:
  - cidr: 172.16.1.0/24
  networkType: OVNKubernetes
  serviceNetwork:
  - 172.30.0.0/16
platform:
  none: {}
sshKey: ssh-rsa AAAAB3Nza...
pullSecret: '{"auths":{"fake":{"auth":"aWQ6cGFzcwo="}}}'
Create agent-config.yaml
Now, let’s create the agent-config.yaml file. In this example, we’ll primarily use it for the network configuration and hostname. It utilizes the Nmstate configuration schema, providing significant flexibility for configuring network interfaces in various ways to match your environment needs.
apiVersion: v1alpha1
kind: AgentConfig
metadata:
  name: k8s
rendezvousIP: 172.16.1.24
hosts:
- hostname: k8s.cornea.dev
  rootDeviceHints:
    deviceName: "/dev/sda"
  interfaces:
  - macAddress: 52:54:00:54:7d:2b
    name: enp1s0
  networkConfig:
    dns-resolver:
      config:
        server:
        - 172.16.1.13
        - 172.16.1.15
    interfaces:
    - ethernet:
        auto-negotiation: true
        duplex: full
        speed: 1000
      ipv4:
        address:
        - ip: 172.16.1.24
          prefix-length: 24
        enabled: true
      ipv6:
        enabled: false
      mac-address: 52:54:00:54:7d:2b
      mtu: 1500
      name: enp1s0
      state: up
      type: ethernet
    routes:
      config:
      - destination: 0.0.0.0/0
        next-hop-address: 172.16.1.1
        next-hop-interface: enp1s0
        table-id: 254
Download openshift-client-linux from okd-scos release page
Extract openshift-install binary
oc adm release extract --command=openshift-install quay.io/okd/scos-release:4.18.0-okd-scos.3
Create installation directory and copy install-config.yaml and agent-config.yaml files
mkdir install
cp install-config.yaml agent-config.yaml install/
Generate the installation ISO
./openshift-install agent create image --dir install
INFO Configuration has 1 master replicas and 0 worker replicas
INFO The rendezvous host IP (node0 IP) is 172.16.1.24
INFO Consuming Install Config from target directory
INFO Consuming Agent Config from target directory
INFO Generated ISO at install/agent.x86_64.iso.
Copy the ISO to a location accessible by the VM
In my case I am going to use /var/lib/libvirt/images on the hypervisor.
cp install/agent.x86_64.iso /var/lib/libvirt/images/k8s.iso
Create the VM
- Note that the MAC address must match the MAC address in the agent-config.yaml file.
virt-install \
  --osinfo centos-stream9 \
  --name k8s \
  --memory 16384 \
  --vcpus 8 \
  --cpu host-passthrough \
  --disk /var/lib/libvirt/images/k8s.qcow2,size=500,bus=scsi \
  --network bridge=external,mac=52:54:00:54:7d:2b \
  --cdrom /var/lib/libvirt/images/k8s.iso \
  --boot hd,cdrom \
  --autostart \
  --noautoconsole

Starting install...
Allocating 'k8s.qcow2'  | 500 GB  00:00:03
Creating domain...      |         00:00:00

Domain is still running. Installation may be in progress.
You can reconnect to the console to complete the installation process.
At this point, you can access the console using virt-viewer or virt-manager to verify that the node has successfully booted from the ISO. You should see an output similar to this:

You should also be able to SSH to the node using the ssh key you provided in the install-config.yaml file and the core user:
ssh [email protected]

The primary service is assisted-service.service. To watch its status, run:

  journalctl -u assisted-service.service
This host (172.16.1.24) is the rendezvous host.
Last login: Sun Mar  9 10:37:44 2025 from 192.168.86.44
[core@k8s ~]$
Wait for the bootstrap process to complete
Now, let’s return to the installation directory where we created the ISO image to monitor the progress of the installation:
./openshift-install agent wait-for bootstrap-complete --dir install

INFO Waiting for cluster install to initialize. Sleeping for 30 seconds
INFO Waiting for cluster install to initialize. Sleeping for 30 seconds
INFO Unable to retrieve cluster metadata from Agent Rest API: no clusterID known for the cluster
INFO Cluster is not ready for install. Check validations
INFO Registered infra env
WARNING Host k8s.cornea.dev validation: Inventory has not been received for the host
WARNING Host k8s.cornea.dev validation: Missing inventory
WARNING Host k8s.cornea.dev validation: Validation error
WARNING Host k8s.cornea.dev validation: Host couldn't synchronize with any NTP server
INFO Host 662f9ff5-cbb2-44c4-a5aa-9e06113c715a: Successfully registered
WARNING Cluster validation: The cluster has hosts that are not ready to install.
INFO Host k8s.cornea.dev validation: Valid inventory exists for the host
INFO Host k8s.cornea.dev validation: Hostname k8s.cornea.dev is allowed
INFO Host k8s.cornea.dev validation: Speed of installation disk has not yet been measured
WARNING Host k8s.cornea.dev: updated status from discovering to insufficient (Host cannot be installed due to following failing validation(s): Host couldn't synchronize with any NTP server)
INFO Host k8s.cornea.dev validation: Host NTP is synced
INFO Host k8s.cornea.dev: updated status from insufficient to known (Host is ready to be installed)
INFO Cluster is ready for install
INFO Cluster validation: All hosts in the cluster are ready to install.
INFO Preparing cluster for installation
INFO Host k8s.cornea.dev: updated status from known to preparing-for-installation (Host finished successfully to prepare for installation)
INFO Host k8s.cornea.dev: New image status quay.io/okd/scos-content@sha256:28634c4f04d1caa2c2acb82981108b0d6b711715e5865b3921988fe26572cd64. result: success. time: 3.85 seconds; size: 309.88 Megabytes; download rate: 84.45 MBps
INFO Host k8s.cornea.dev: updated status from preparing-for-installation to preparing-successful (Host finished successfully to prepare for installation)
INFO Cluster installation in progress
INFO Host k8s.cornea.dev: updated status from preparing-successful to installing (Installation is in progress)
INFO Host: k8s.cornea.dev, reached installation stage Installing: bootstrap
INFO Host: k8s.cornea.dev, reached installation stage Waiting for bootkube
INFO Bootstrap Kube API Initialized
INFO Host: k8s.cornea.dev, reached installation stage Writing image to disk: 29%
INFO Host: k8s.cornea.dev, reached installation stage Writing image to disk: 36%
INFO Host: k8s.cornea.dev, reached installation stage Writing image to disk: 41%
INFO Host: k8s.cornea.dev, reached installation stage Writing image to disk: 53%
INFO Host: k8s.cornea.dev, reached installation stage Writing image to disk: 63%
INFO Host: k8s.cornea.dev, reached installation stage Writing image to disk: 68%
INFO Host: k8s.cornea.dev, reached installation stage Writing image to disk: 77%
INFO Host: k8s.cornea.dev, reached installation stage Writing image to disk: 90%
INFO Host: k8s.cornea.dev, reached installation stage Writing image to disk: 97%
INFO Host: k8s.cornea.dev, reached installation stage Writing image to disk: 100%
INFO Bootstrap configMap status is complete
INFO Bootstrap is complete
INFO cluster bootstrap is complete
- Note that during the bootstrap process, the installer will trigger a reboot to ensure that the node boots from the installation drive instead of the CD-ROM device. I’ve observed that occasionally the VM may not power on after the reboot is initiated. In such cases, ensure that the VM is powered on and is booting from the installation drive. You can power on the VM using the
virsh start <vm_name>command.
Wait for the remaining installation process to complete:
./openshift-install agent wait-for install-complete --dir install
INFO Bootstrap Kube API Initialized
INFO Bootstrap configMap status is complete
INFO Bootstrap is complete
INFO cluster bootstrap is complete
INFO Cluster is installed
INFO Install complete!
INFO To access the cluster as the system:admin user when using 'oc', run
INFO     export KUBECONFIG=/home/marius/billi/install/auth/kubeconfig
INFO Access the OpenShift web-console here: https://console-openshift-console.apps.k8s.cornea.dev
INFO Login to the console with user: "kubeadmin", and password: "deGUq-Gitko-qA43A-bNPGQ"
export KUBECONFIG=install/auth/kubeconfig

oc get clusterversion
NAME      VERSION             AVAILABLE   PROGRESSING   SINCE   STATUS
version   4.18.0-okd-scos.3   True        False         2m12s   Cluster version is 4.18.0-okd-scos.3
Known Issues
As of this writing, there are two documented issues requiring workarounds during installation. These are fully detailed in the OKD project GitHub discussion #2035:
- The bootstrap live ISO image must be manually overridden to use RHCOS
- The assisted-service database requires manual intervention with
pg_ctl start
Be sure to review the linked discussion before beginning your installation to understand the specific workaround procedures.