Building a Multi-Node RDMA Lab on a Single Machine
21 Mar 2026After my EPYC workstation I wanted to go further: experiment with multi-node GPU networking and learn RDMA, RoCE and the networking technologies behind today’s AI datacenters. My initial plan was ambitious but so were the prices. Even a small, already outdated setup was prohibitively expensive. Here’s how I ended up achieving similar learning goals for much less.
The Original Plan
My initial idea was to build a proper multi-node cluster with a dedicated high-speed network fabric. The shopping list included a second node (where I’d move one of my existing GPUs), a pair of Mellanox ConnectX-6 100GbE NICs and a 100GbE switch like an Arista DCS-7060CX or Mellanox SN2010. Those hopes were quickly crushed as the cost started around EUR 3,500, money I’d rather put toward a DGX Spark for running LLMs locally.
The Pivot: Multi-Node on a Single Host
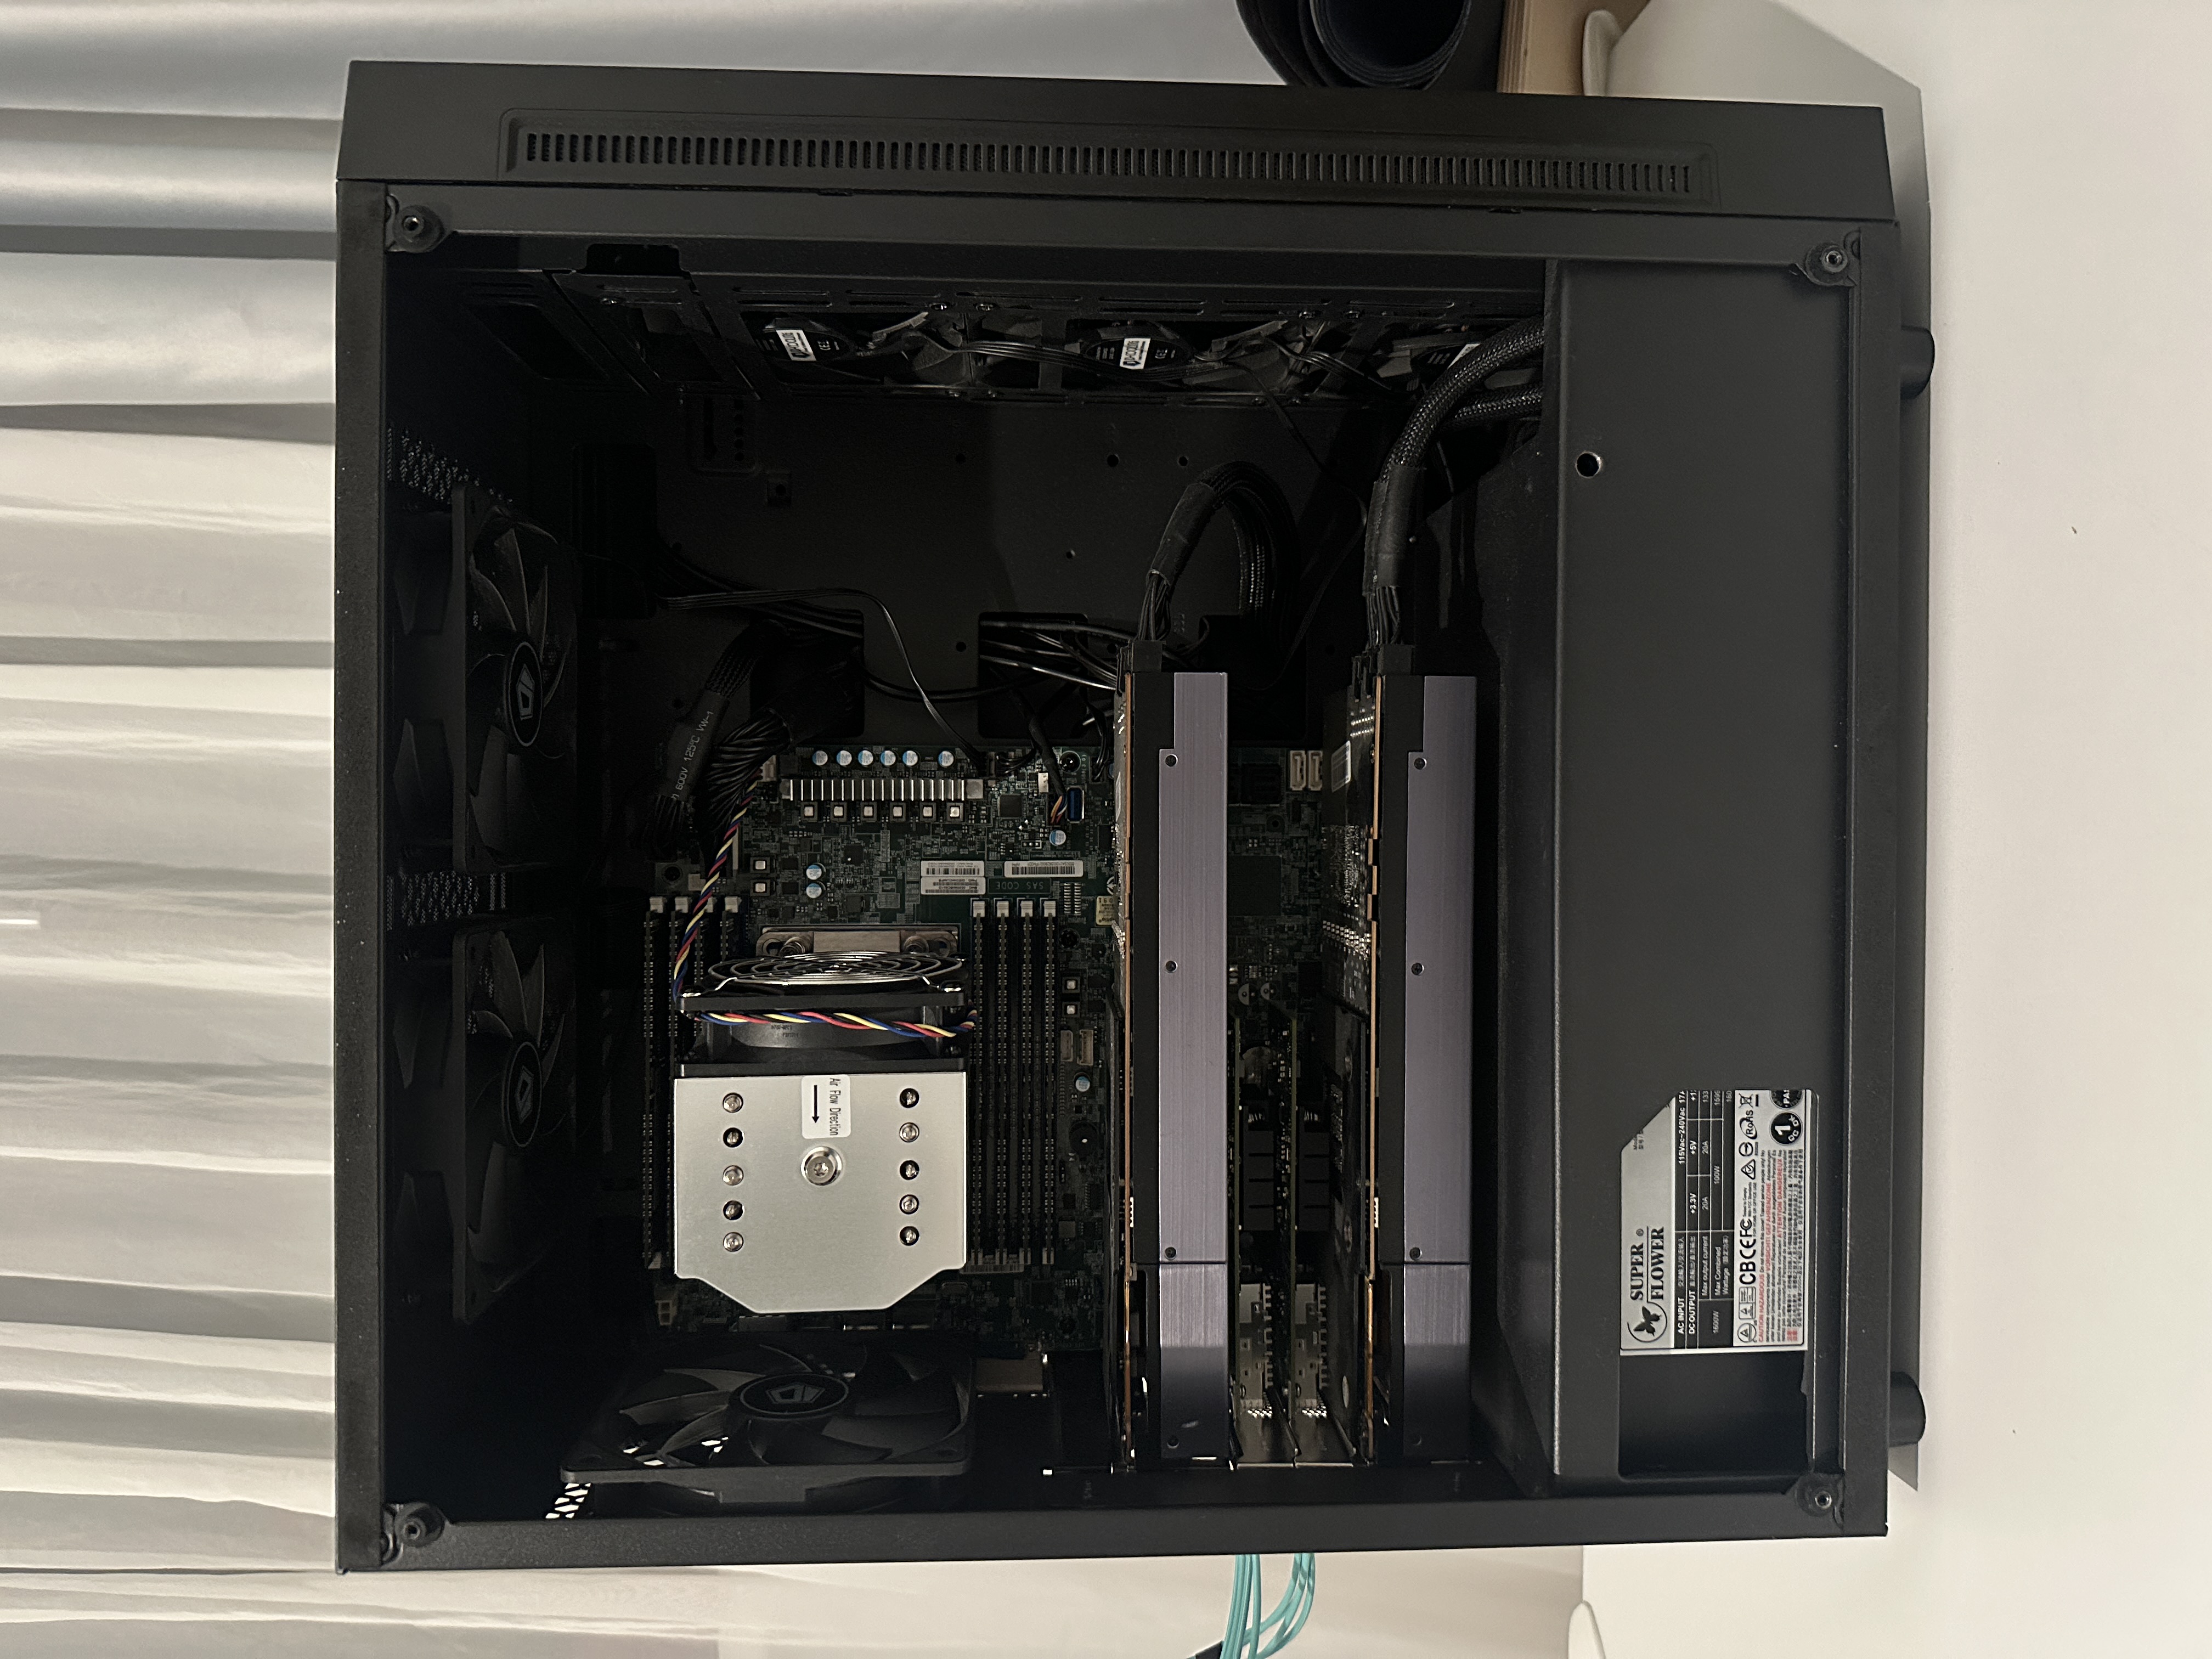
Then I reconsidered what I already had: a server with 256GB of RAM, two RTX 3090s and free PCIe slots. Why not simulate a multi-node cluster using KVM virtual machines with PCIe passthrough?
The revised shopping list was much friendlier:
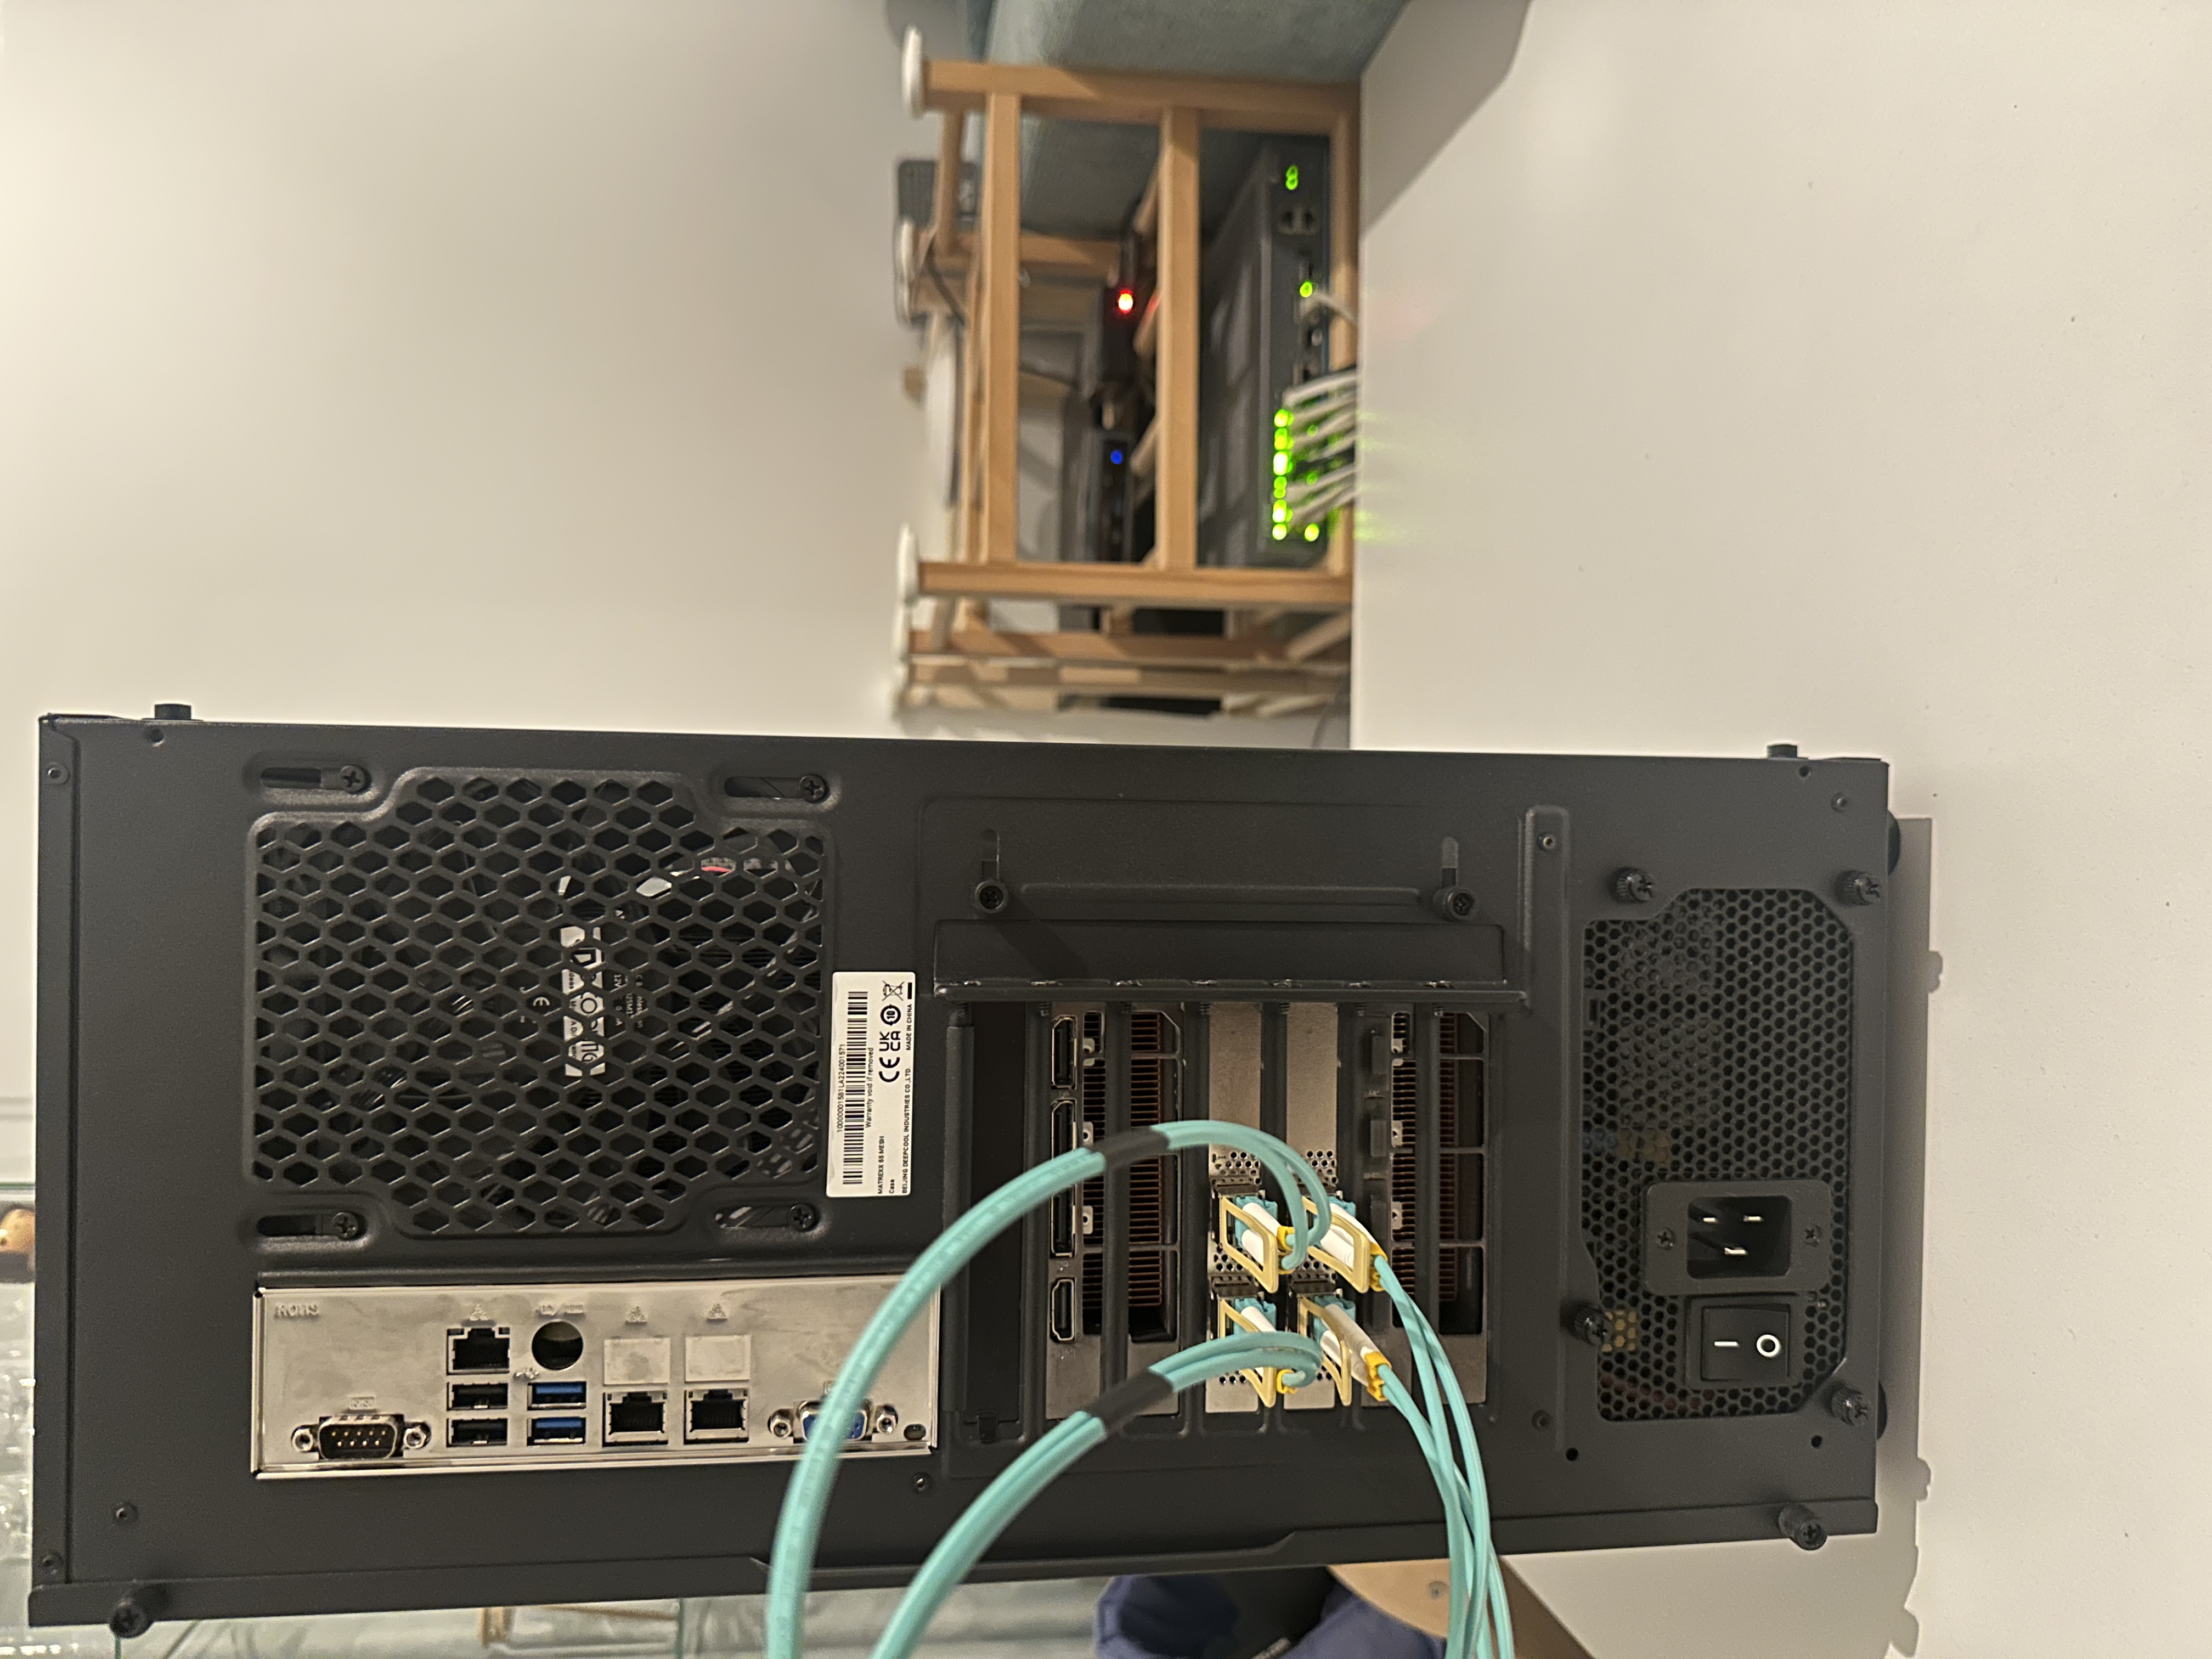
- 2x Mellanox ConnectX-4 Lx 25GbE NICs(used market)
- cables to connect them in loopback
Total cost: around EUR 200. No switch needed, the two NICs talk directly to each other through a fiber cable.
This setup would enable real RDMA/RoCE/SR-IOV traffic over physical hardware, with NIC and GPU passthrough to VMs and hopefully more advanced experiments like GPUDirect RDMA and congestion control simulation, all on a single machine.
Here’s the full lab architecture:

Setting Up the Environment
BIOS Configuration
Before touching software, a few BIOS settings need attention:
-
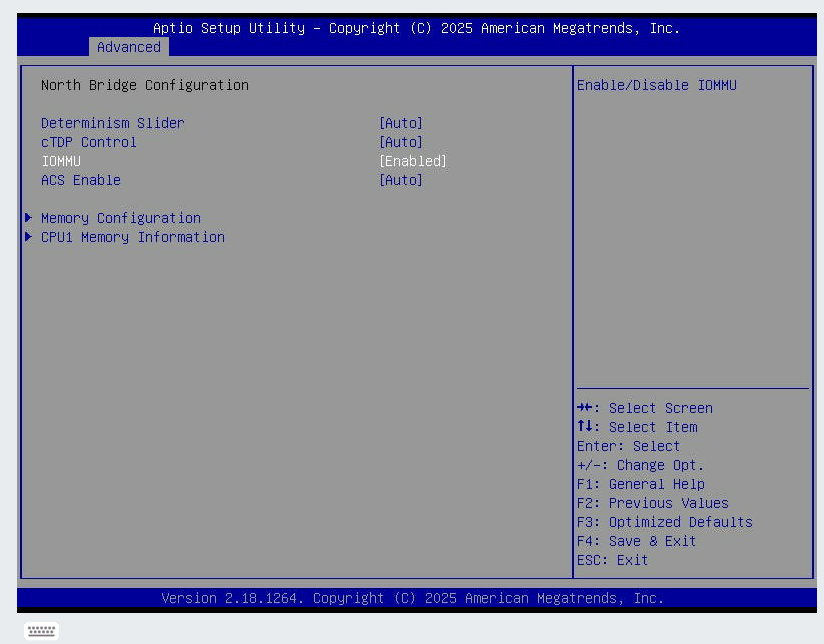
Enable IOMMU - required for VFIO device passthrough. On the Supermicro H11SSL-i, the setting is under Advanced → NB Configuration → IOMMU → set to Enabled:
-
Memory Interleaving - keep at Auto (default). The EPYC 7551P is a 4-die multi chip module and with these settings each die gets its own NUMA node, giving the best memory latency. On the Supermicro H11SSL-i: Advanced → NB Configuration → Memory Configuration → Memory Interleaving → Auto.

Hardware Verification
With the CX-4 cards installed and the fiber cable connected verify link is correctly reported:
# Verify ConnectX-4 Lx NICs
lspci | grep -i mellanox
# 41:00.0 Ethernet controller: Mellanox Technologies MT27710 Family [ConnectX-4 Lx]
# 41:00.1 Ethernet controller: Mellanox Technologies MT27710 Family [ConnectX-4 Lx]
# 61:00.0 Ethernet controller: Mellanox Technologies MT27710 Family [ConnectX-4 Lx]
# 61:00.1 Ethernet controller: Mellanox Technologies MT27710 Family [ConnectX-4 Lx]

# Check link status - should show 25Gbps
ethtool enp65s0f0np0
# Speed: 25000Mb/s
# Link detected: yes

# Verify GPUs
nvidia-smi

# Document PCIe topology
lspci -tv
NUMA Topology and Device Locality
With 4 NUMA nodes, PCIe devices are attached to specific dies. We need to map out which NUMA node each device belongs to, so we can assign VM CPUs and memory accordingly:
# GPU NUMA affinity
cat /sys/bus/pci/devices/0000:06:00.0/numa_node   # GPU 0
cat /sys/bus/pci/devices/0000:21:00.0/numa_node   # GPU 1

# NIC NUMA affinity
cat /sys/bus/pci/devices/0000:41:00.0/numa_node   # NIC 0
cat /sys/bus/pci/devices/0000:61:00.0/numa_node   # NIC 1
Build a device locality map used for CPU pinning:
| Device | PCI Address | NUMA Node | Assigned to |
|---|---|---|---|
| GPU 0 (RTX 3090) | 06:00.0 |
0 | vm00 |
| GPU 1 (RTX 3090) | 21:00.0 |
1 | vm01 |
| NIC 0 (CX-4 Lx) | 41:00.0 (enp65s0f0np0) |
2 | vm00 |
| NIC 1 (CX-4 Lx) | 61:00.0 (enp97s0f0np0) |
3 | vm01 |
The GPU and NIC for each VM are on different NUMA nodes, vm00 gets NUMA nodes 0+2, vm01 gets NUMA nodes 1+3. We’ll pin each VM’s vCPUs and memory to both of its device NUMA nodes.
VM Topology and CPU Pinning
The EPYC 7551P has 32 cores / 64 threads (SMT) split across 4 NUMA nodes (8 cores / 16 threads each). We assign each VM the CPUs from its GPU and NIC NUMA nodes:
| NUMA Node | CPUs | Assignment |
|---|---|---|
| Node 0 | 0-1, 32-33 | Host (2 cores) |
| 2-7, 34-39 | vm00 GPU 0 (6 cores) | |
| Node 1 | 8-15, 40-47 | vm01 GPU 1 (8 cores) |
| Node 2 | 16-23, 48-55 | vm00 NIC 0 (8 cores) |
| Node 3 | 24-29, 56-61 | vm01 NIC 1 (6 cores) |
| 30-31, 62-63 | Host (2 cores) |
Each VM gets 14 cores / 28 threads across two NUMA nodes, one for its GPU, one for its NIC.
Each VM’s vCPUs are local to its passthrough devices thus minimizing cross-die memory access during GPU compute and RDMA transfers.
CPU isolation prevents the host scheduler from placing processes on VM-dedicated cores. We also isolate both SMT sibling threads of each core. If you only isolate one thread, the host processes on the sibling will compete for shared core resources, causing potential latency spikes.
grubby --update-kernel=ALL --args="iommu=pt isolcpus=2-29,34-61 nohz_full=2-29,34-61 rcu_nocbs=2-29,34-61 default_hugepagesz=1G hugepagesz=1G hugepages=64"
reboot
The kernel parameters:
iommu=pt- sets IOMMU to passthrough mode for better performance on devices not assigned to VMsisolcpus- removes these CPUs from the general schedulernohz_full- disables the scheduler tick on isolated CPUs, reducing interrupt overheadrcu_nocbs- offloads kernel bookkeeping (RCU callbacks) to housekeeping coresdefault_hugepagesz=1G hugepagesz=1G hugepages=64- pre-allocates 64 x 1 GB hugepages at boot (32 GB per VM × 2 VMs), avoiding fragmentation issues that can prevent runtime allocation
After reboot, verify isolation is active:
cat /sys/devices/system/cpu/isolated
# 2-29,34-61
Set CPU governor to performance - prevents frequency scaling from skewing benchmark results during RDMA and GPU workloads:
cpupower frequency-set -g performance
VFIO device binding - before passing devices to VMs, unbind them from their host drivers and bind to vfio-pci. The GPUs use the nvidia driver and the NIC PFs use mlx5_core. First unload the nvidia modules, then unbind and rebind each device:
# Unload nvidia modules
rmmod nvidia_drm
rmmod nvidia_modeset
rmmod nvidia_uvm
rmmod nvidia

# Load VFIO modules
modprobe vfio-pci

# Unbind GPUs + audio and bind to vfio-pci
for dev in 06:00.0 06:00.1 21:00.0 21:00.1; do
  echo 0000:$dev > /sys/bus/pci/devices/0000:$dev/driver/unbind 2>/dev/null
  echo vfio-pci > /sys/bus/pci/devices/0000:$dev/driver_override
  echo 0000:$dev > /sys/bus/pci/drivers/vfio-pci/bind
done

# Unbind NIC PFs and bind to vfio-pci
for dev in 41:00.0 61:00.0; do
  echo 0000:$dev > /sys/bus/pci/devices/0000:$dev/driver/unbind
  echo vfio-pci > /sys/bus/pci/devices/0000:$dev/driver_override
  echo 0000:$dev > /sys/bus/pci/drivers/vfio-pci/bind
done
This needs to run every boot as the VFIO binding is not persistent.
Hugepage-backed VM memory - the 1 GB hugepages allocated at boot (via the grubby parameters above) reduce host TLB pressure during DMA. Verify after reboot:
grep HugePages_ /proc/meminfo
# HugePages_Total:      64
# HugePages_Free:       64

mount | grep hugepages
# hugetlbfs on /dev/hugepages type hugetlbfs (rw,relatime,pagesize=1024M)
VM creation - we’ll use a CentOS 9 Stream cloud image.
Customize each image with a root password and SSH access, then create each VM with GPU and NIC passthrough:
# Download CentOS 9 Stream cloud image
curl -L -o /var/lib/libvirt/images/CentOS-Stream-GenericCloud-9-latest.x86_64.qcow2 \
  https://cloud.centos.org/centos/9-stream/x86_64/images/CentOS-Stream-GenericCloud-9-latest.x86_64.qcow2

# Create VM disks from the cloud image
for vm in vm00 vm01; do
  cp /var/lib/libvirt/images/CentOS-Stream-GenericCloud-9-latest.x86_64.qcow2 \
     /var/lib/libvirt/images/${vm}.qcow2
  qemu-img resize /var/lib/libvirt/images/${vm}.qcow2 100G
done

# Customize: set root password, enable root SSH, remove cloud-init
for vm in vm00 vm01; do
  virt-customize -a /var/lib/libvirt/images/${vm}.qcow2 \
    --root-password password:redhat \
    --write /etc/ssh/sshd_config.d/99-root.conf:"PermitRootLogin yes" \
    --run-command 'dnf remove -y cloud-init'
done

# vm00: GPU 0 + NIC 0
virt-install \
  --name vm00 \
  --ram 32768 \
  --vcpus 28 \
  --memorybacking hugepages=yes \
  --disk path=/var/lib/libvirt/images/vm00.qcow2 \
  --os-variant centos-stream9 \
  --network network=default \
  --host-device 0000:06:00.0 \
  --host-device 0000:06:00.1 \
  --host-device 0000:41:00.0 \
  --import \
  --noautoconsole

# vm01: GPU 1 + NIC 1
virt-install \
  --name vm01 \
  --ram 32768 \
  --vcpus 28 \
  --memorybacking hugepages=yes \
  --disk path=/var/lib/libvirt/images/vm01.qcow2 \
  --os-variant centos-stream9 \
  --network network=default \
  --host-device 0000:21:00.0 \
  --host-device 0000:21:00.1 \
  --host-device 0000:61:00.0 \
  --import \
  --noautoconsole
vCPU pinning - pin each vCPU 1:1 to a specific physical core and bind memory to the VM’s NUMA nodes. With the VMs shut down:
virsh destroy vm00
virsh destroy vm01

# vm00: pin to NUMA 0 (CPUs 2-7,34-39) + NUMA 2 (CPUs 16-23,48-55)
VM00_CPUS=(2 3 4 5 6 7 34 35 36 37 38 39 16 17 18 19 20 21 22 23 48 49 50 51 52 53 54 55)
for i in $(seq 0 27); do
  virsh vcpupin vm00 $i ${VM00_CPUS[$i]} --config
done
virsh emulatorpin vm00 2-7,16-23,34-39,48-55 --config
virsh numatune vm00 --mode strict --nodeset 0,2 --config

# vm01: pin to NUMA 1 (CPUs 8-15,40-47) + NUMA 3 (CPUs 24-29,56-61)
VM01_CPUS=(8 9 10 11 12 13 14 15 40 41 42 43 44 45 46 47 24 25 26 27 28 29 56 57 58 59 60 61)
for i in $(seq 0 27); do
  virsh vcpupin vm01 $i ${VM01_CPUS[$i]} --config
done
virsh emulatorpin vm01 8-15,24-29,40-47,56-61 --config
virsh numatune vm01 --mode strict --nodeset 1,3 --config

virsh start vm00
virsh start vm01
The numatune binds VM memory to both NUMA nodes where its devices live (nodes 0+2 for vm00, nodes 1+3 for vm01).
Verify the pinning:
virsh vcpuinfo vm00 | head -20
# VCPU:           0
# CPU:            2
# State:          running
# CPU Affinity:   --y-------------------------------------------------------------
#
# VCPU:           1
# CPU:            3
# State:          running
# CPU Affinity:   ---y------------------------------------------------------------

virsh numatune vm00
# mode: strict, nodeset: 0,2
Verification and RDMA Setup Inside the VMs
All RDMA stack setup happens inside the VMs. The intree mlx5_core driver supports RDMA out of the box. We just need the user-space libraries and tools. Run this on both VMs:
dnf install -y rdma-core libibverbs-utils infiniband-diags perftest iproute

# Verify NIC is active
ibstat
# CA 'mlx5_0'
#     CA type: MT4117
#     Number of ports: 1
#     Firmware version: 14.23.1000
#     Port 1:
#         State: Active
#         Physical state: LinkUp
#         Rate: 25
#         Link layer: Ethernet
The GPUs are passed through but we don’t need their drivers for RDMA. We’ll cover GPU and NIC OFED drivers in a follow up post, but for now the intree drivers are sufficient for everything here.
Jumbo frames - the default Ethernet MTU of 1500 limits the RDMA (IB) MTU to 1024 bytes, meaning a 64 KB transfer gets fragmented into 64 IB packets. Setting MTU 4200 raises the IB MTU to 4096 (the maximum), cutting per-operation packet overhead by 4x. Avoid setting MTU 9000 - the IB MTU caps at 4096 regardless so the extra headroom just wastes buffer space.
Assign RDMA IPs and configure jumbo frames using nmcli so they persist across reboots:
# On vm00:
nmcli con add type ethernet ifname eth1 con-name rdma0 ip4 10.0.0.1/24 ipv4.method manual 802-3-ethernet.mtu 4200
nmcli con up rdma0

# On vm01:
nmcli con add type ethernet ifname eth1 con-name rdma0 ip4 10.0.0.2/24 ipv4.method manual 802-3-ethernet.mtu 4200
nmcli con up rdma0

# Verify MTU and RDMA MTU
ip link show eth1 | grep mtu
# mtu 4200

ibv_devinfo mlx5_0 | grep mtu
# max_mtu:    4096 (5)
# active_mtu: 4096 (5)

# Verify basic connectivity (from vm00)
ping -c 3 10.0.0.2
# 64 bytes from 10.0.0.2: icmp_seq=1 ttl=64 time=3.06 ms
# 64 bytes from 10.0.0.2: icmp_seq=2 ttl=64 time=0.235 ms
# 64 bytes from 10.0.0.2: icmp_seq=3 ttl=64 time=0.164 ms
Run RDMA bandwidth and latency tests:
# Bandwidth - start server on vm00, then client on vm01:
vm00# ib_write_bw -d mlx5_0 -x 3 --report_gbits
vm01# ib_write_bw -d mlx5_0 -x 3 10.0.0.1 --report_gbits
#  #bytes     #iterations    BW peak[Gb/sec]    BW average[Gb/sec]   MsgRate[Mpps]
#  65536      5000             24.50              24.50  		     0.046733


# Latency - same pattern:
vm00# ib_write_lat -d mlx5_0 -x 3
vm01# ib_write_lat -d mlx5_0 -x 3 10.0.0.1
#  #bytes #iterations    t_min[usec]    t_max[usec]  t_typical[usec]
#  2       1000          1.34           8.56         1.41
24.50 Gb/sec write bandwidth and 1.41 μs write latency is ~ 97% of the 25GbE wire rate. At this point we have two VMs, each with its own GPU and NIC talking RDMA over real hardware.
RDMA and RoCE in Action
RDMA (Remote Direct Memory Access) allows one machine to read from or write to another machine’s memory without involving the remote CPU. RoCE (RDMA over Converged Ethernet) brings this capability to standard Ethernet networks using UDP port 4791.
From inside the VMs, we can explore the full RDMA stack. Test all message sizes to see how bandwidth scales:
vm00# ib_write_bw -d mlx5_0 -x 3 -a --report_gbits
vm01# ib_write_bw -d mlx5_0 -x 3 -a --report_gbits 10.0.0.1
#  #bytes     #iterations    BW peak[Gb/sec]    BW average[Gb/sec]   MsgRate[Mpps]
#  2          5000           0.06               0.06                 3.751204
#  64         5000           2.01               1.93                 3.769190
#  512        5000           16.16              15.43                3.768025
#  1024       5000           22.79              22.67                2.766892
#  4096       5000           24.40              24.40                0.744519
#  65536      5000           24.50              24.50                0.046733
#  1048576    5000           24.51              24.51                0.002922
Verify you’re running RoCEv2 (UDP-encapsulated) and not RoCEv1 (raw Ethernet) by checking the GID table:
ibv_devinfo -v -d mlx5_0 | grep -i gid
# GID[  0]:  fe80:0000:0000:0000:526b:4bff:fe43:fe3a, RoCE v1
# GID[  1]:  fe80::526b:4bff:fe43:fe3a, RoCE v2
# GID[  2]:  0000:0000:0000:0000:0000:ffff:0a00:0001, RoCE v1
# GID[  3]:  ::ffff:10.0.0.1, RoCE v2
We’re using GID index 3 (-x 3) which is the RoCEv2 entry for our 10.0.0.1 address. You can verify traffic is flowing through the RDMA-specific ethtool counters:
ethtool -S eth1 | grep -i rdma
# rx_vport_rdma_unicast_packets: 848180
# rx_vport_rdma_unicast_bytes: 396030760
# tx_vport_rdma_unicast_packets: 22107808
# tx_vport_rdma_unicast_bytes: 24360528496
For diagnostics, a few essential tools:
# Port state and link info
ibstat
# CA 'mlx5_0'
#   Port 1:
#     State: Active
#     Physical state: LinkUp
#     Rate: 25
#     Link layer: Ethernet

# Live RDMA statistics during a test
rdma stat show
# link mlx5_0/1
#     rx_write_requests 2000
#     out_of_buffer 0
#     packet_seq_err 0

# NIC-level error counters
ethtool -S eth1 | grep -iE "error|drop|discard"
Do the Host Optimizations Matter?
The setup includes several host-level optimizations: CPU isolation, NUMA-aware pinning and hugepages. At 25G with an idle host RDMA bandwidth hits line rate regardless, the link saturates before any of these matter. But what happens under more realistic conditions when the host is busy?
To test this I removed isolcpus and ran stress-ng --cpu 64 on the host to simulate a loaded system - 64 CPU-bound processes competing with the VMs for physical cores. Without isolation, the scheduler spreads stress workers across all 64 threads, including the ones backing VM vCPUs. With cpu isolation all 64 stress-ng stressors are confined to the 8 housekeeping threads, they physically cannot touch the VM cores.
TCP bulk throughput (measured with iperf3 -c 10.0.0.1 -t 10 between VMs) shows the most dramatic impact:
| Scenario | Throughput | Retransmits |
|---|---|---|
| No contention | 24.2 Gbps | 0 |
Contention, no isolcpus |
7.9 Gbps (-67%) | 6 |
Contention, with isolcpus |
24.1 Gbps | 0 |
Averaged over three runs. Without CPU isolation, TCP throughput drops by two thirds and retransmits appear — the kernel networking stack needs uninterrupted CPU time that competing processes steal. With isolcpus the VMs are fully protected.
RDMA is more resilient - bandwidth stays at line rate regardless because the NIC handles data movement in hardware. But tail latency (p99 and p99.9, the slowest 1% and 0.1% of operations) tells a different story. Measured with ib_write_lat -d mlx5_0 -x 3 -n 10000 over three runs:
| Scenario | Typical | p99 | p99.9 |
|---|---|---|---|
Optimized (isolcpus + NUMA + hugepages) |
1.44 μs | 1.53 μs | 5.22 μs |
| Wrong NUMA placement | 1.62 μs (+13%) | 1.97 μs (+29%) | 7.99 μs (+53%) |
CPU contention, no isolcpus |
1.50 μs (+4%) | 1.71 μs (+12%) | 7.59 μs (+45%) |
NUMA misplacement, pinning VMs to the wrong NUMA nodes (remote from their NIC), increases p99 latency by 29% and p99.9 by 53%. CPU contention without isolation increases p99.9 by 45%. These could have negative impact on latency-sensitive workloads.
Conclusion
For a quick upgrade with the two used CX-4 NICs I was able to cover a surprising amount of ground: RDMA fundamentals, RoCEv2 protocol details, PCI device passthrough, CPU isolation, and NUMA-aware pinning. Sometimes the best lab is the one you already have, you just need to get creative with it.
In the follow-up posts I’ll explore further topics like NIC tunings, congestion control mechanisms and GPUDirect with RDMA if it’s possible on the 3090.